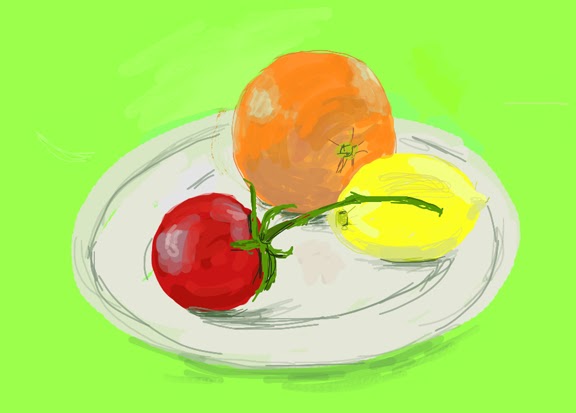
Brushes seemed an obvious Art App to learn as we all have seen David Hockney's iPhone and iPad work with this App. After downloading it the learning begins. These pictures show my progress which was very slow and I feel there is much more to figure out. Working on a still life I set up for my first trial I thought this is too simple, not enough tools or variations and no layers.
 While looking at an image on my granddaughter's new fabric, to copy, I discovered there were indeed layers available. I used a fill background layer and two others to copy this flat image.
Then I found variations on that single brush icon.

Time to try the variations I found for that single brush. At that point I did find variations within that brush shape. Both size and opaqueness as well as spacing is available. There is also an eraser that can be resized and used softly.
When using the eraser I had to make sure I was on the right layer and did not erase work I wanted to save.


These two drawings/paintings were an attempt to try the variations of that brush icon as then change the background.
I seem to be having trouble adding to my 'in progress' photos for learning the Brushes App, so I am going to stop here with this last picture, below, and add the other trials another day.

This last painting/drawing is from two photos a friend took for me. It took almost a week off and on to do all the shading using 4 layers. I began with a fill background and added to it several times while working on both the leaves and berries. On the iPad, the colors are much more intense.
My conclusion is I wish there was a blending tool and a better method developing exact colors. With work the Brushes App can do most everything but not quickly. It works well for flat colors but using the opaque method for shading really slows down, blending.
I'll never be able to be a David Hockney look-a-like, but that is probably good.
No comments:
Post a Comment